In the amount of time I have spent learning the art of editing, compositing and motion graphics, I have come up with a way to breakdown how certain effects and transitions are created. They are usually created with combination of the following: keyframes, mattes and/or filters. To put this theory to the test, I am going to show you how to create a transition that uses multiple mattes, keyframes and filters inside Premiere Pro. Let’s get started.
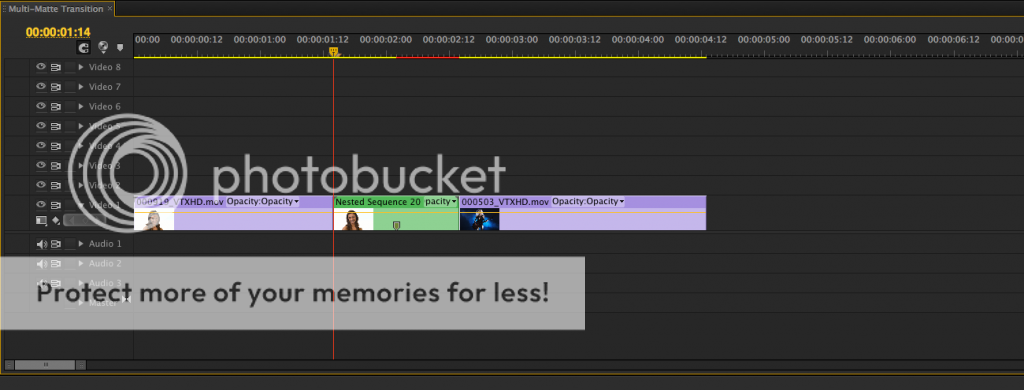
I have two clips in my timeline with a frame rate of 23.976 and the sequence is 720p. I’m going to make an edit at the end of the first clip for 12 frames and at the beginning of the second clip as well. If you are working with footage that is 30 or 60 fps, then you will want 15-30 frames from both of your clips so they equal one second.
Next, highlight your edits and nest them into a sequence.
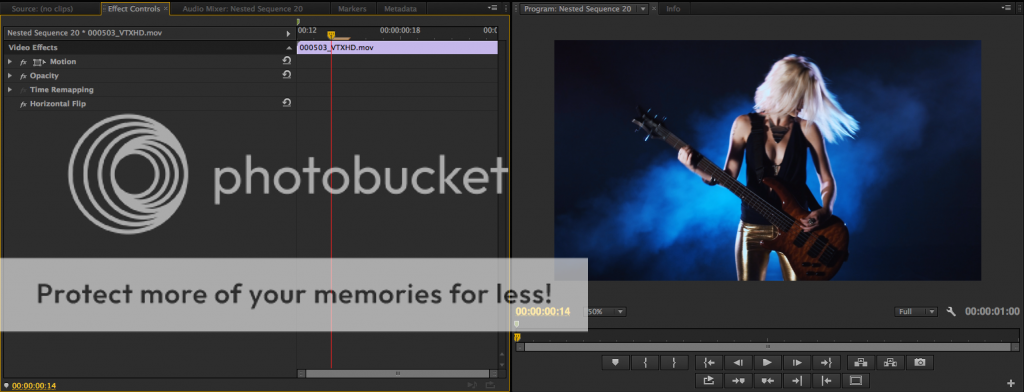
For the second clip in your nested sequence, apply the horizontal flip filter on it. We’ll be using the Basic 3D filter down the line and whenever you rotate a clip 180 degrees, it will face a different way. If you have the horizontal flip applied prior to the Basic 3D filter, this will offset it.
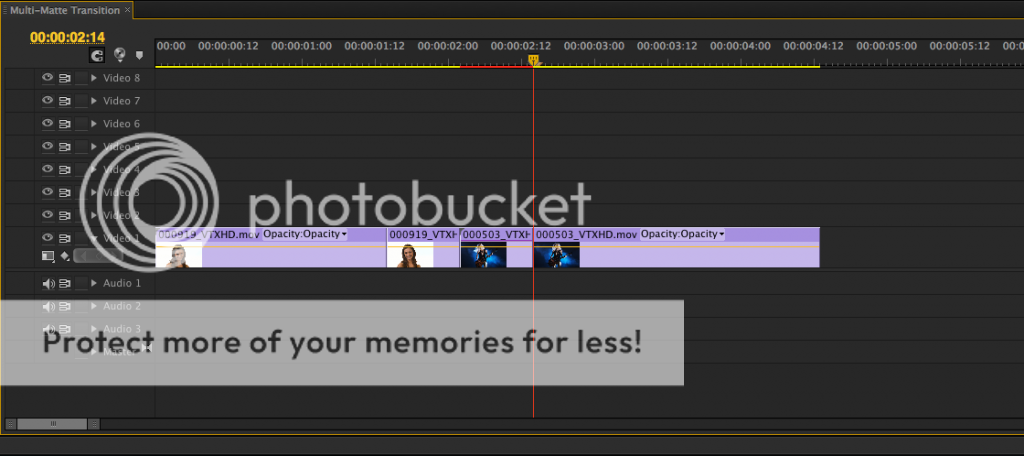
Let’s return to the main sequence. We will need a total of 8 video tracks to make this transition happen so let’s add a few more.
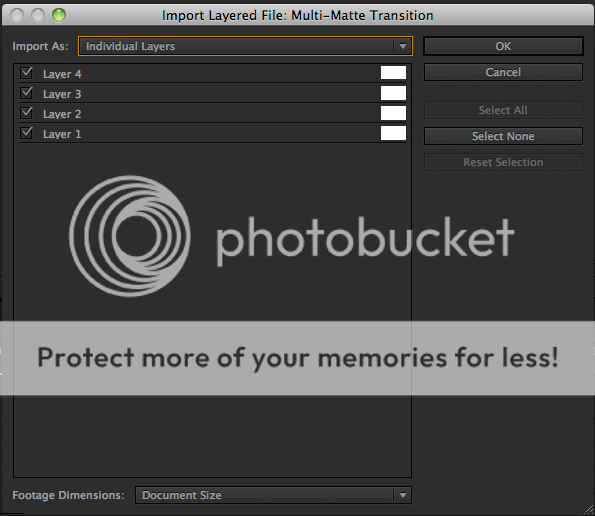
To achieve this transition, I used a multi-layered Photoshop file, which I provided in 720p and 1080p. Import the file as individual layers when you bring it into Premiere Pro.
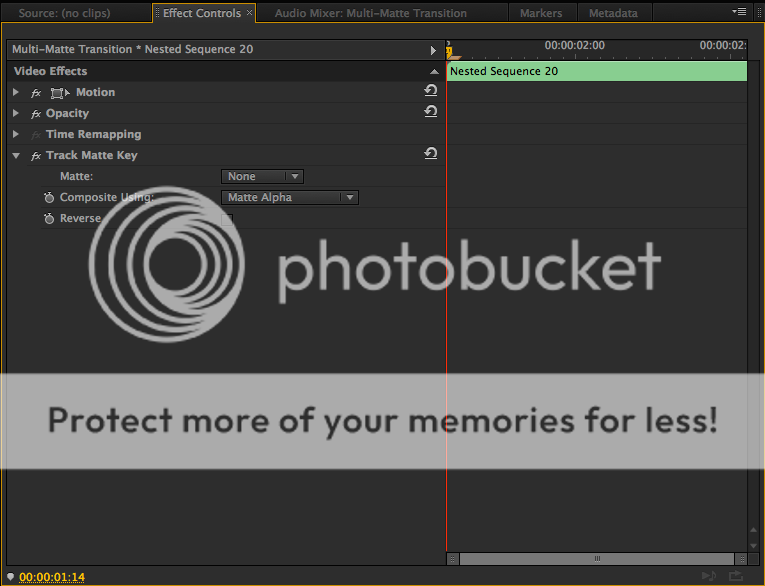
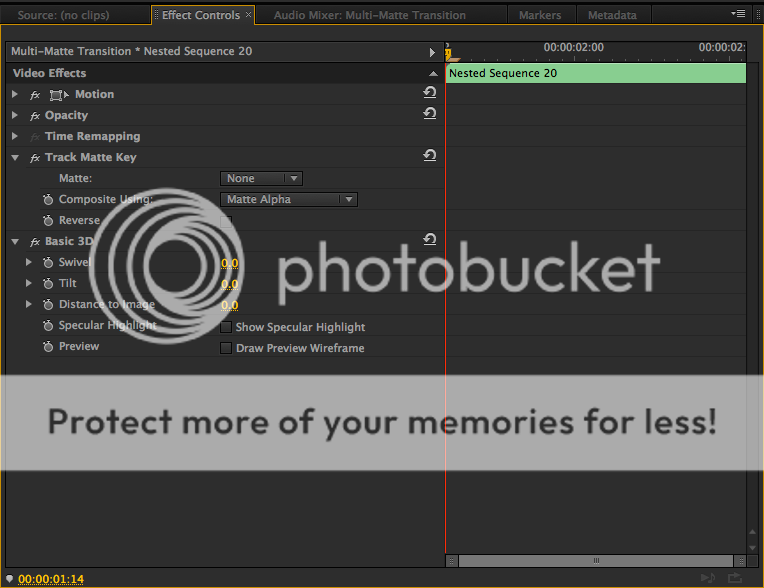
Highlight your nested sequence. Go to the effects browser and type Track Matte. Apply the filter to the nest. Go back to the browser and type Basic 3D. Apply that to the nest as well.
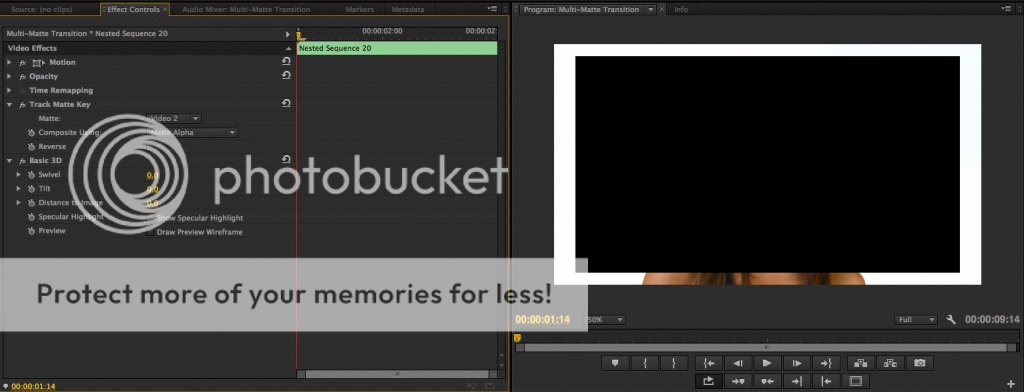
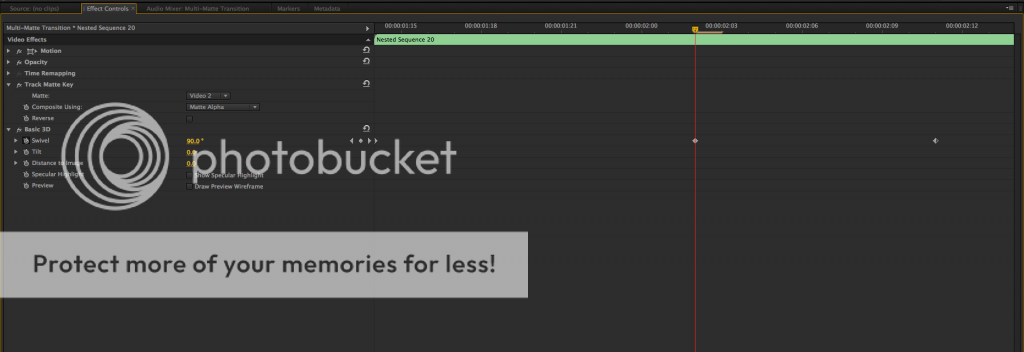
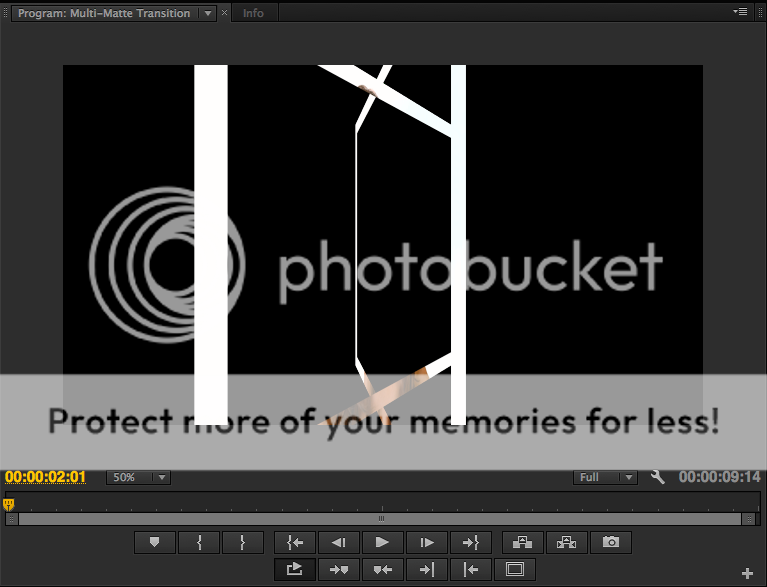
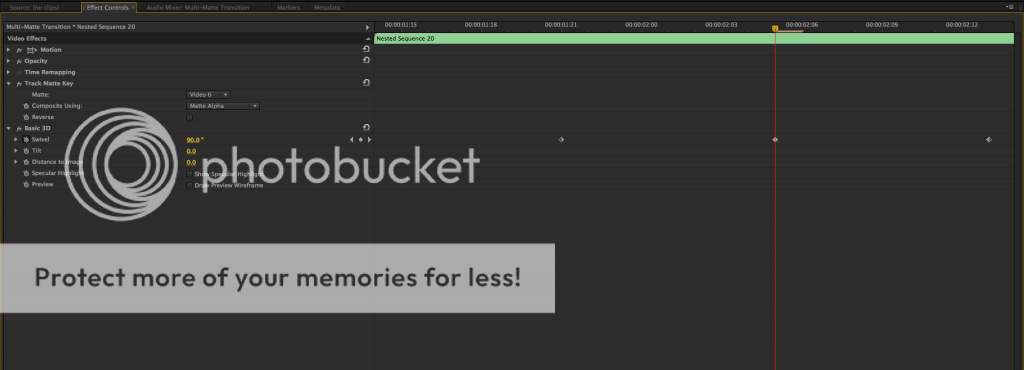
Place layer 1 from the Photoshop file on track 2. With the nested sequence selected, go to the effect controls panel. Set the matte option to Video 2. Set a keyframe for swivel at the beginning of your clip with a value of 0. Advance 12 frames forward and change the swivel to 90. Advance 9 frames forward and change the swivel to 180.
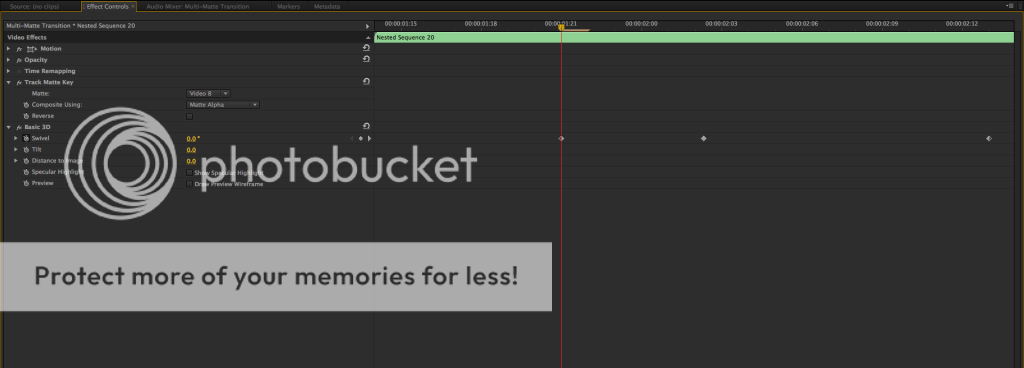
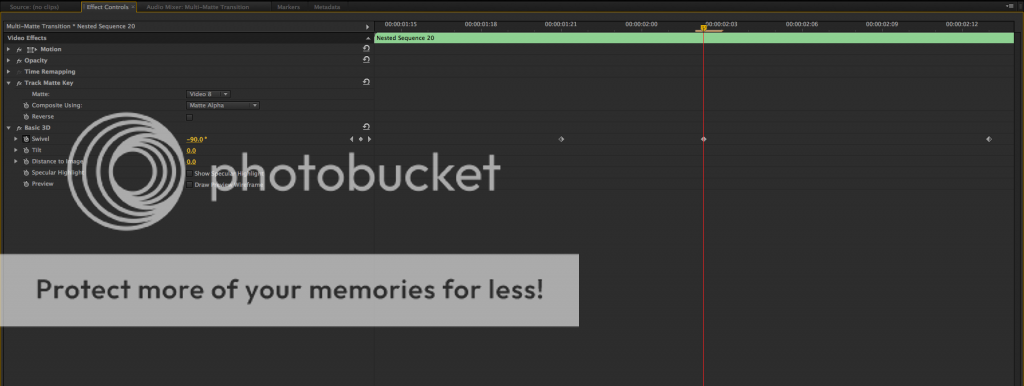
To save time from reinventing the wheel, let’s highlight the nested sequence and layer 1. Hold down option and drag up to create a duplicate. Option drag layer 2 on top of layer 1 on track 4 to replace it. With your nest on track 3 selected, change the matte to Video 4. Move the first swivel keyframe 5 frames forward. Move the second swivel keyframe 1 frame forward and change the value to -90. Move the third swivel keyframe 1 frame forward and change the value to -180.
Let’s highlight the nest and layer on tracks 1 & 2 and option drag duplicates onto track 5 and 6. Option drag layer 3 onto the layer 1 duplicate to replace it. Next, change the matte on the track 5 nest to Video 6. Shift the first swivel keyframe 7 frames forward. Shift the second swivel keyframe 3 frames forward. Shift the third swivel keyframe 2 frames forward.
Let’s repeat the same steps I did above only this time highlight the nest and layer on tracks 3 & 4. Option drag duplicates onto tracks 7 and 8. Next, option drag layer 4 onto the layer 2 duplicate to replace it. Change the matte of the nest on track 7 to Video 8. Move the first swivel keyframe 2 frames forward. Move the second keyframe 1 frame back. Finally, move the third keyframe 1 frame forward.
If you did it right your final result should look something like this.
This transition was inspired by the MTransition 2 transition collection of MotionVFX. If you want a different shape than rectangles, you can create mattes in Photoshop to your liking. Third party plugins from Genarts and NewBlue FX tend to operate on these principles for most of their effects. It looks like this transition proved my earlier theory that most effects/transitions can be broken down into 3 essential elements: keyframes, mattes and/or filters. So the next time you see an effect you want to replicate, break it down with these parameters.
I’m the NLE Ninja with Audio Micro asking you to stay creative.

